
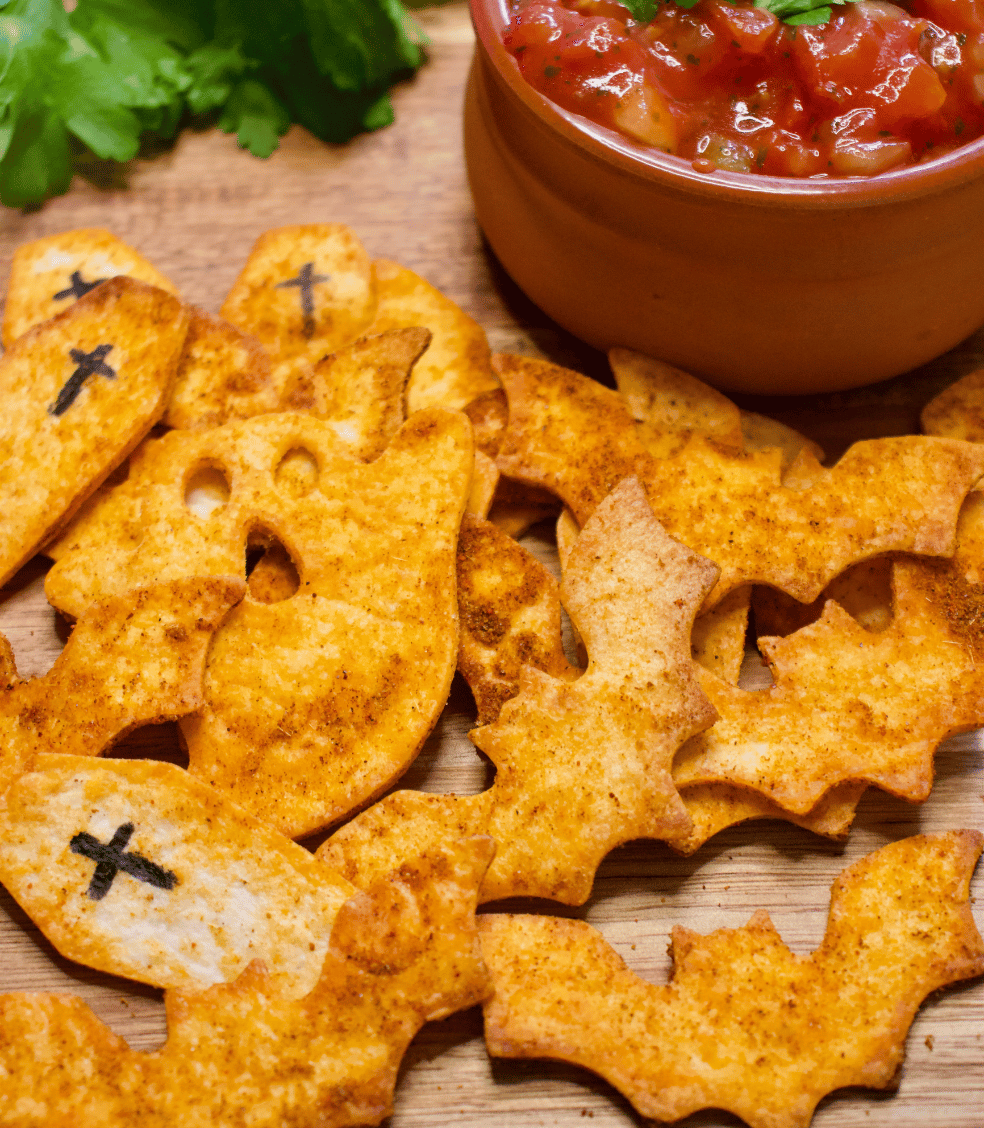
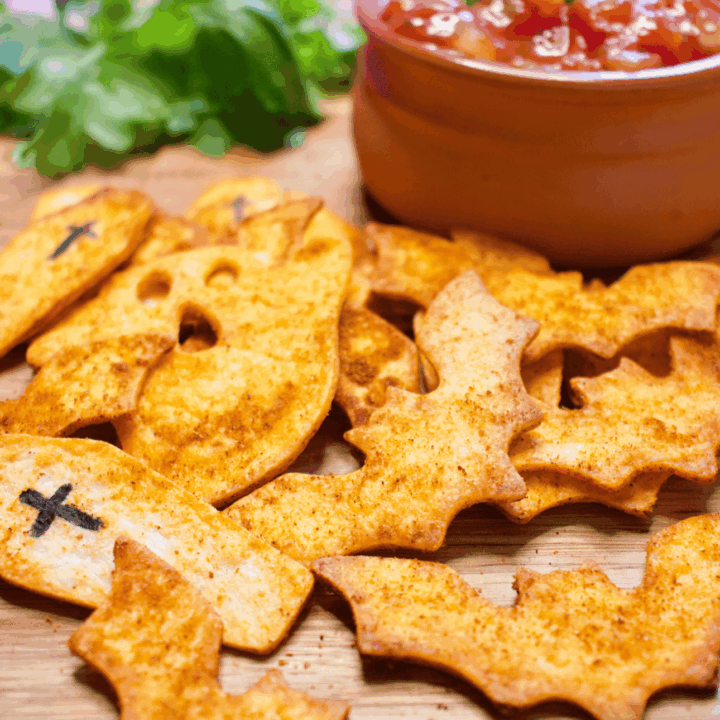
Homemade Halloween chips are made with tortilla wraps, smoky seasoning, and spooky cookie cutters. They bake into crispy little bats, ghosts, coffins, and tombstones that are perfect for serving alongside salsa, guacamole, taco dip, queso or a Halloween chips and dip platter!
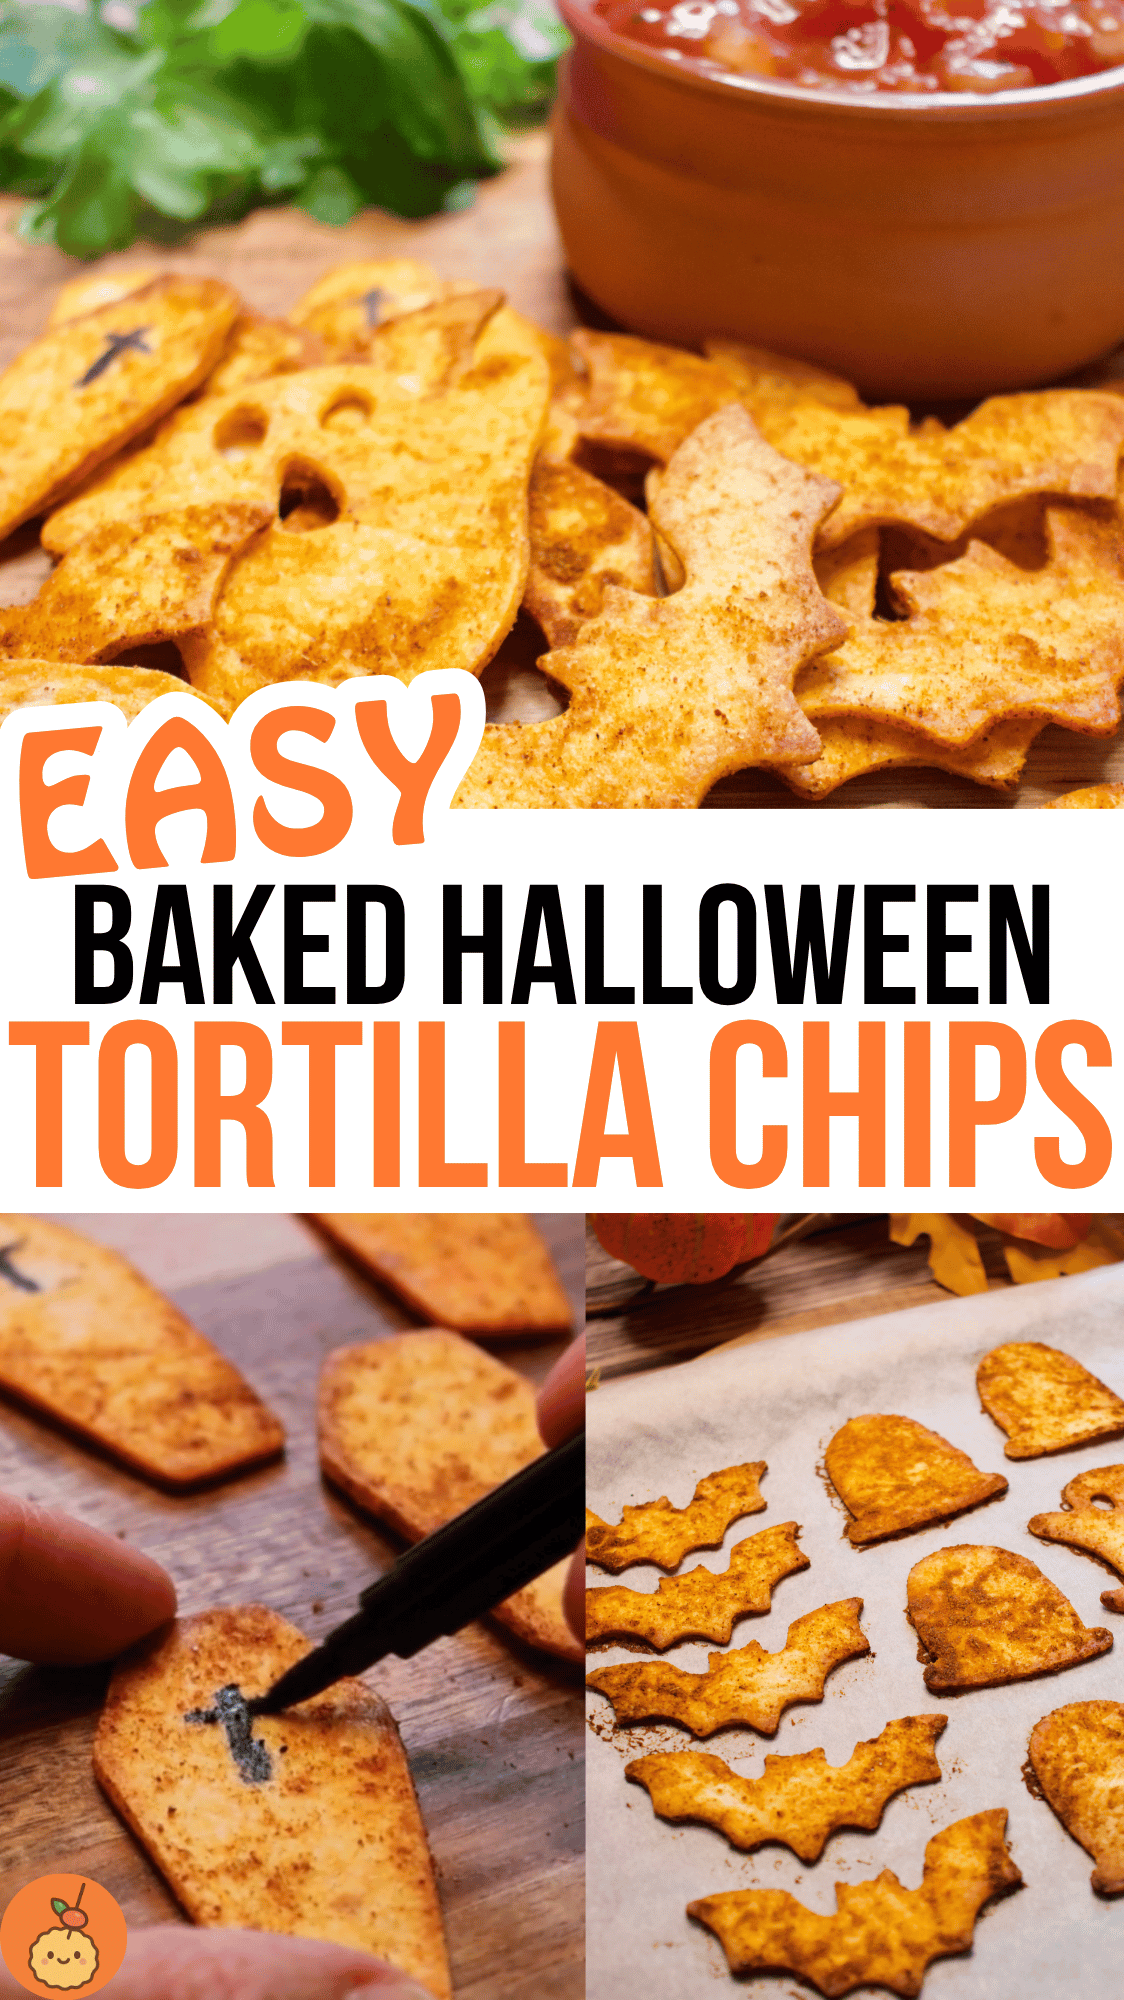
Homemade Halloween tortilla chips that look impressive but are secretly really easy. You are essentially making baked tortilla chips but cutting them into tiny spooky shapes before baking.
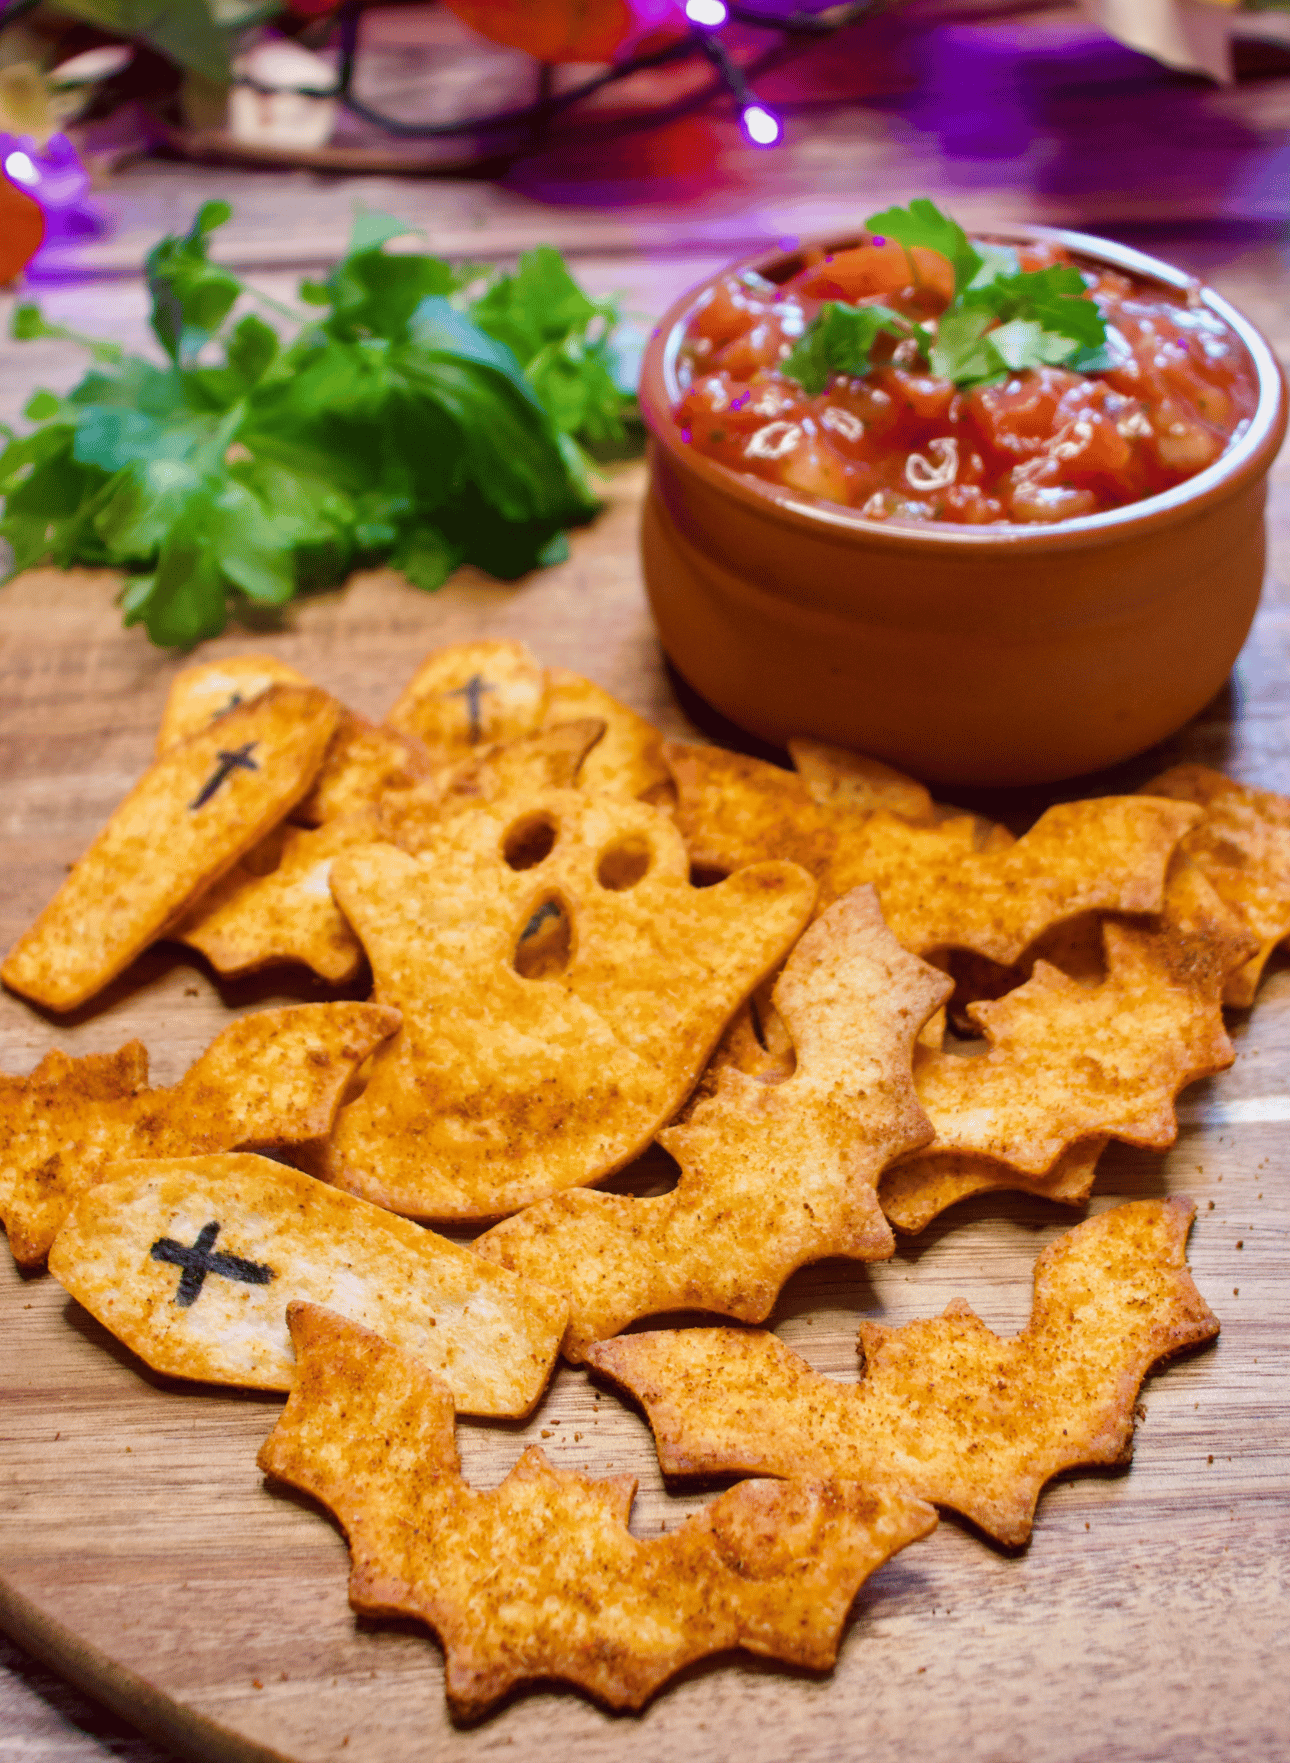
They’re perfect if you need Halloween party food ideas that are savoury, cute, and easy to scoop from a grazing board. You can serve them at kids’ parties, Halloween movie nights, alongside fall dips and appetizers, or as a crunchy side for a big Halloween taco dip platter.
Love these Homemade Halloween Chips? Click here to quickly and easily save the recipe to Pinterest
Ingredients For Homemade Halloween Chips
The ingredients you need to make these Halloween chips are:
 Large Tortilla Wraps
Large tortilla wraps are the base of these Halloween chips.
They are easy to cut with cookie cutters and bake into crisp little homemade tortilla chips. Flour tortillas work especially well because they are soft enough to press the shapes out neatly.
You can also use corn tortillas if you want a more traditional tortilla chip texture, but they may be a little more delicate when cutting out detailed shapes.

Olive Oil or Spray Oil
A little oil helps the seasoning stick to the tortilla shapes and gives the baked tortilla chips a crisp, golden finish.
Olive oil adds a nice flavour, but spray oil is a great shortcut if you want a lighter coating and less mess.
The main thing is not to use too much, as this can make the chips chewy instead of crunchy.

Smoked Paprika
Smoked paprika gives the Halloween chips their warm orange colour and smoky flavour.
It also makes them look extra good for Halloween party food, especially when served with salsa, guacamole, or a Halloween taco dip.
If you only have regular paprika, that will still work, but smoked paprika gives a deeper flavour.

Garlic Powder
Garlic powder adds savoury flavour without making the chips wet or heavy.
It works better than fresh garlic here because it coats the tortilla shapes evenly and won’t burn as quickly in the oven.
A little goes a long way, so you only need enough to give the chips a subtle garlic flavour.

Ground Cumin
Ground cumin adds warmth and a slight earthy flavour that works really well with paprika and chilli.
It gives the chips that classic Tex-Mex style taste… If you prefer a simpler flavour, you can reduce the cumin slightly, but it does add lovely depth.

Chilli powder or Cayenne Pepper (optional)
This is optional, depending on how spicy you want your Halloween chips to be.
Chilli powder gives gentle warmth, while cayenne pepper is hotter and stronger, so use it sparingly.
If you are making these for children or a mixed party platter, you can leave it out completely and still have delicious flavorsome chips.

Salt
Salt brings all the spices together and makes the chips taste properly savoury.
Because tortilla wraps can be quite plain on their own, the salt is important for giving these homemade tortilla chips that snackable, dip-friendly flavour.
You can add a little extra after baking if needed, but start lightly so they don’t become too salty.


Black Edible Food Pen or Black Food Colouring (optional)
A black edible food pen is optional, but it is perfect for adding little crosses to coffin-shaped chips.
Wait until the chips have cooled slightly before drawing on them, otherwise the pen can drag or smudge.
You can skip this completely if you are only making bats, ghosts, or other Halloween themed appetizers, but it does add a fun spooky detail.
Equipment You’ll Need
To make these spooky little chips for your Halloween party you will need the following equipment:
- Halloween cookie cutters
- Baking tray
- Baking paper
- Mixing bowl
- Pastry brush or spoon
You can use bats, ghosts, coffins, tombstones, pumpkins, cats, moons, and stars! Try to use simple shapes that will hold together once baked.
How To Make Halloween Chips
Step 1. Cut out the Halloween shapes
Start by laying a tortilla wrap flat on a clean board or piece of baking paper.
Use Halloween cookie cutters to press out your shapes. Press down firmly until the cutter cuts through the tortilla.
You can cut out eyes and mouths on ghost chips using a small straw, piping nozzle, or tiny round cutter if you don’t have ghost shaped cutters… Be sure to do this before baking.
For coffin chips, cut out the coffin shapes before baking, then draw on the black crosses once baked and cooled slightly.
Repeat with the remaining tortilla wraps.
Step 2. Make the smoky seasoning
Add smoked paprika, garlic powder, cumin, chilli powder, and salt to a small bowl. Mix together.
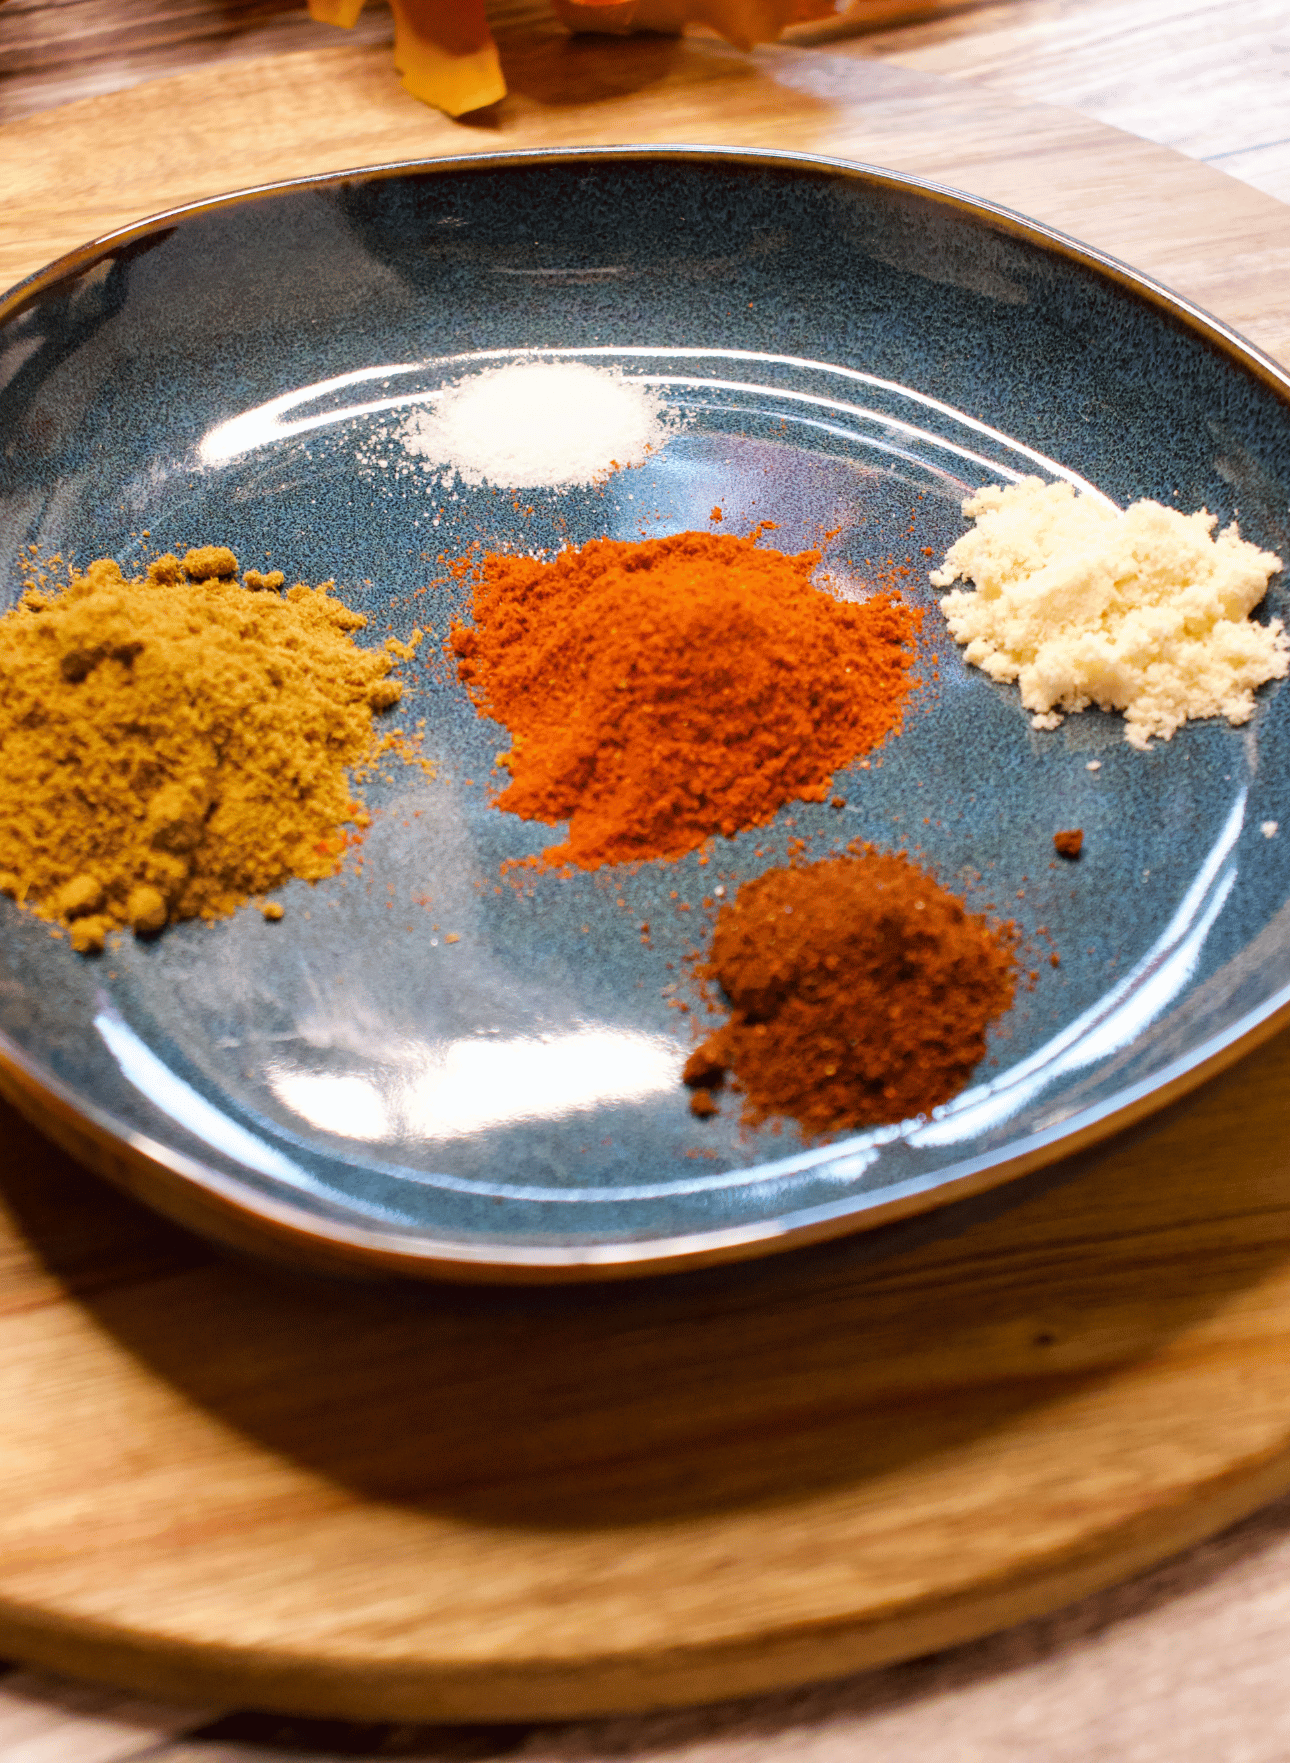
This smoky seasoning gives the baked tortilla chips their colour and flavour. It also looks super cute on a Halloween themed food board next to red salsa or green guacamole.
Leave out the chilli powder for mild Halloween chips. Add cayenne or chipotle powder for a spicy Halloween party snack.
Step 3. Coat the tortilla shapes in oil and seasoning
Place the tortilla shapes in a mixing bowl.
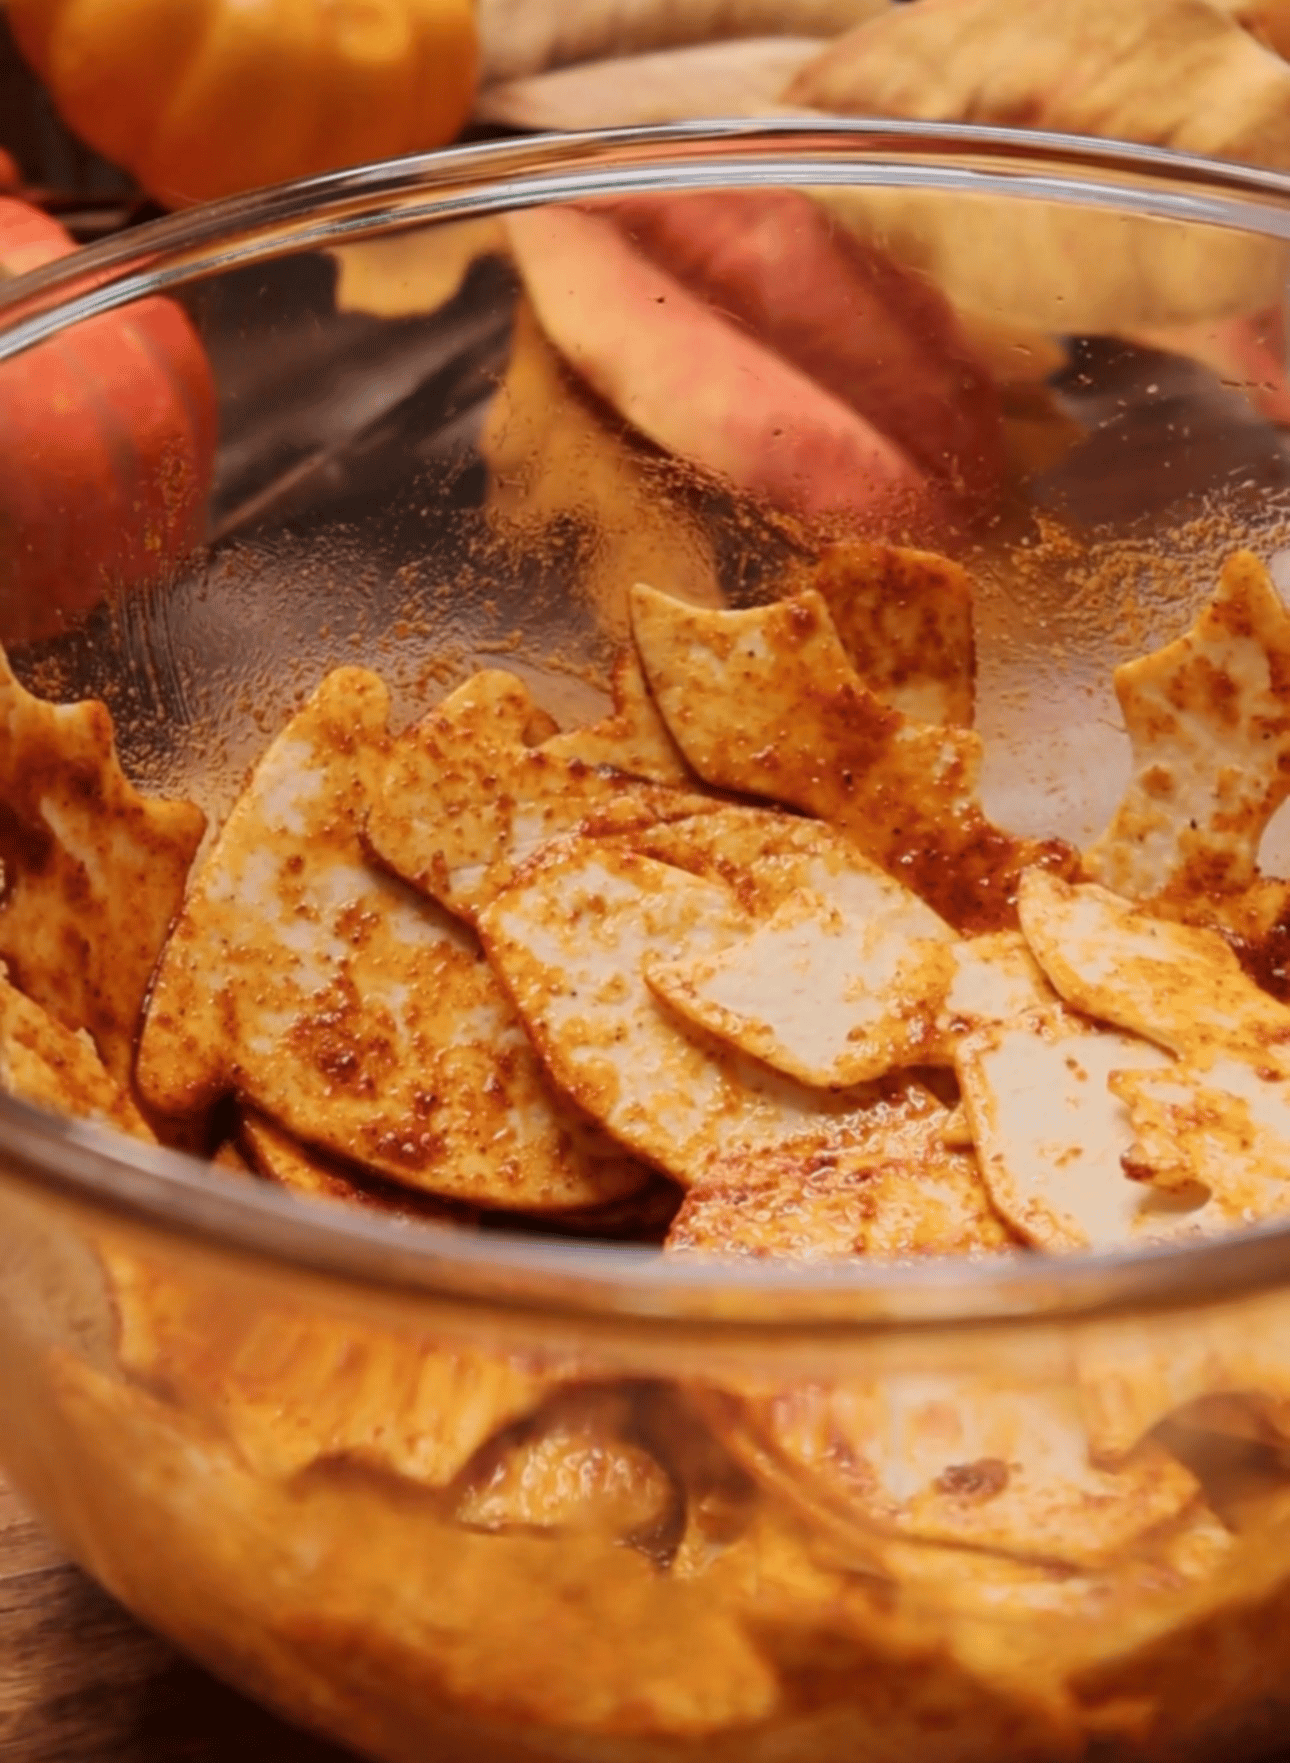
Drizzle over the olive oil, then sprinkle over the seasoning mix. Toss gently until coated in a thin layer of oil and seasoning.
You don’t want to use loads of oil here. Just enough to help the seasoning stick to the tortilla shapes and to make them crisp up in the oven.
Step 4. Arrange on a baking tray
Arrange the Halloween chips onto a lined baking tray in a single layer. Try not to overlap them, as this can prevent them from crisping up properly.
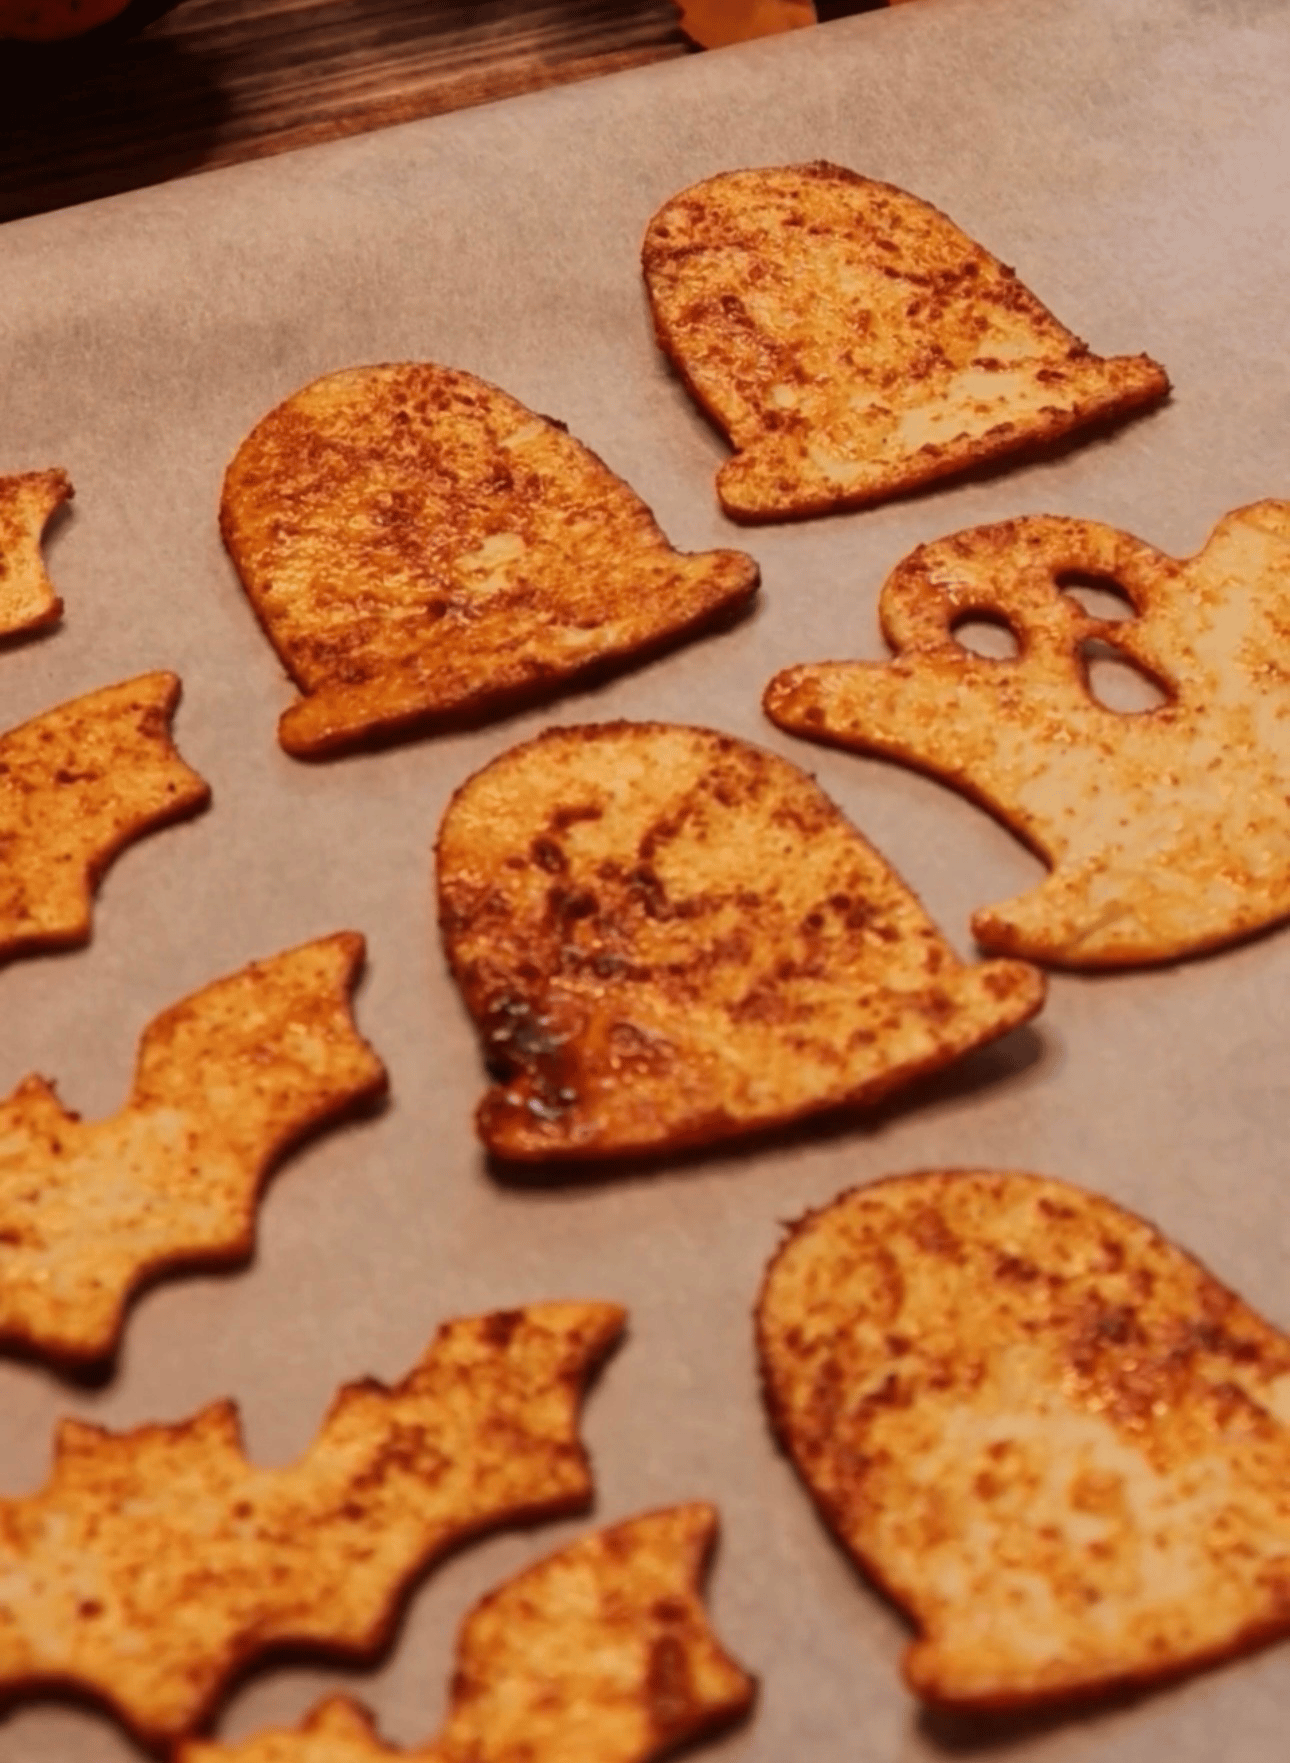
If you’re making a big batch, bake them on two trays or in separate batches.
Step 5. Bake until crisp
Bake for 180°C / 350°F for 7 to 10 minutes, or until the chips are crisp and lightly golden around the edges.
Keep an eye on them towards the end of cooking. Thin parts, such as bat wings and ghost edges will brown faster than the rest of the chips.
Allow the chips to cool for a few minutes before serving. They will crisp up more as they cool. If they don’t seem crispy enough, leave them for a few more minutes and check again.
Step 6. Add coffin details
Draw little black crosses on the coffin chips using an edible food pen or a tiny brush dipped in black food colouring.
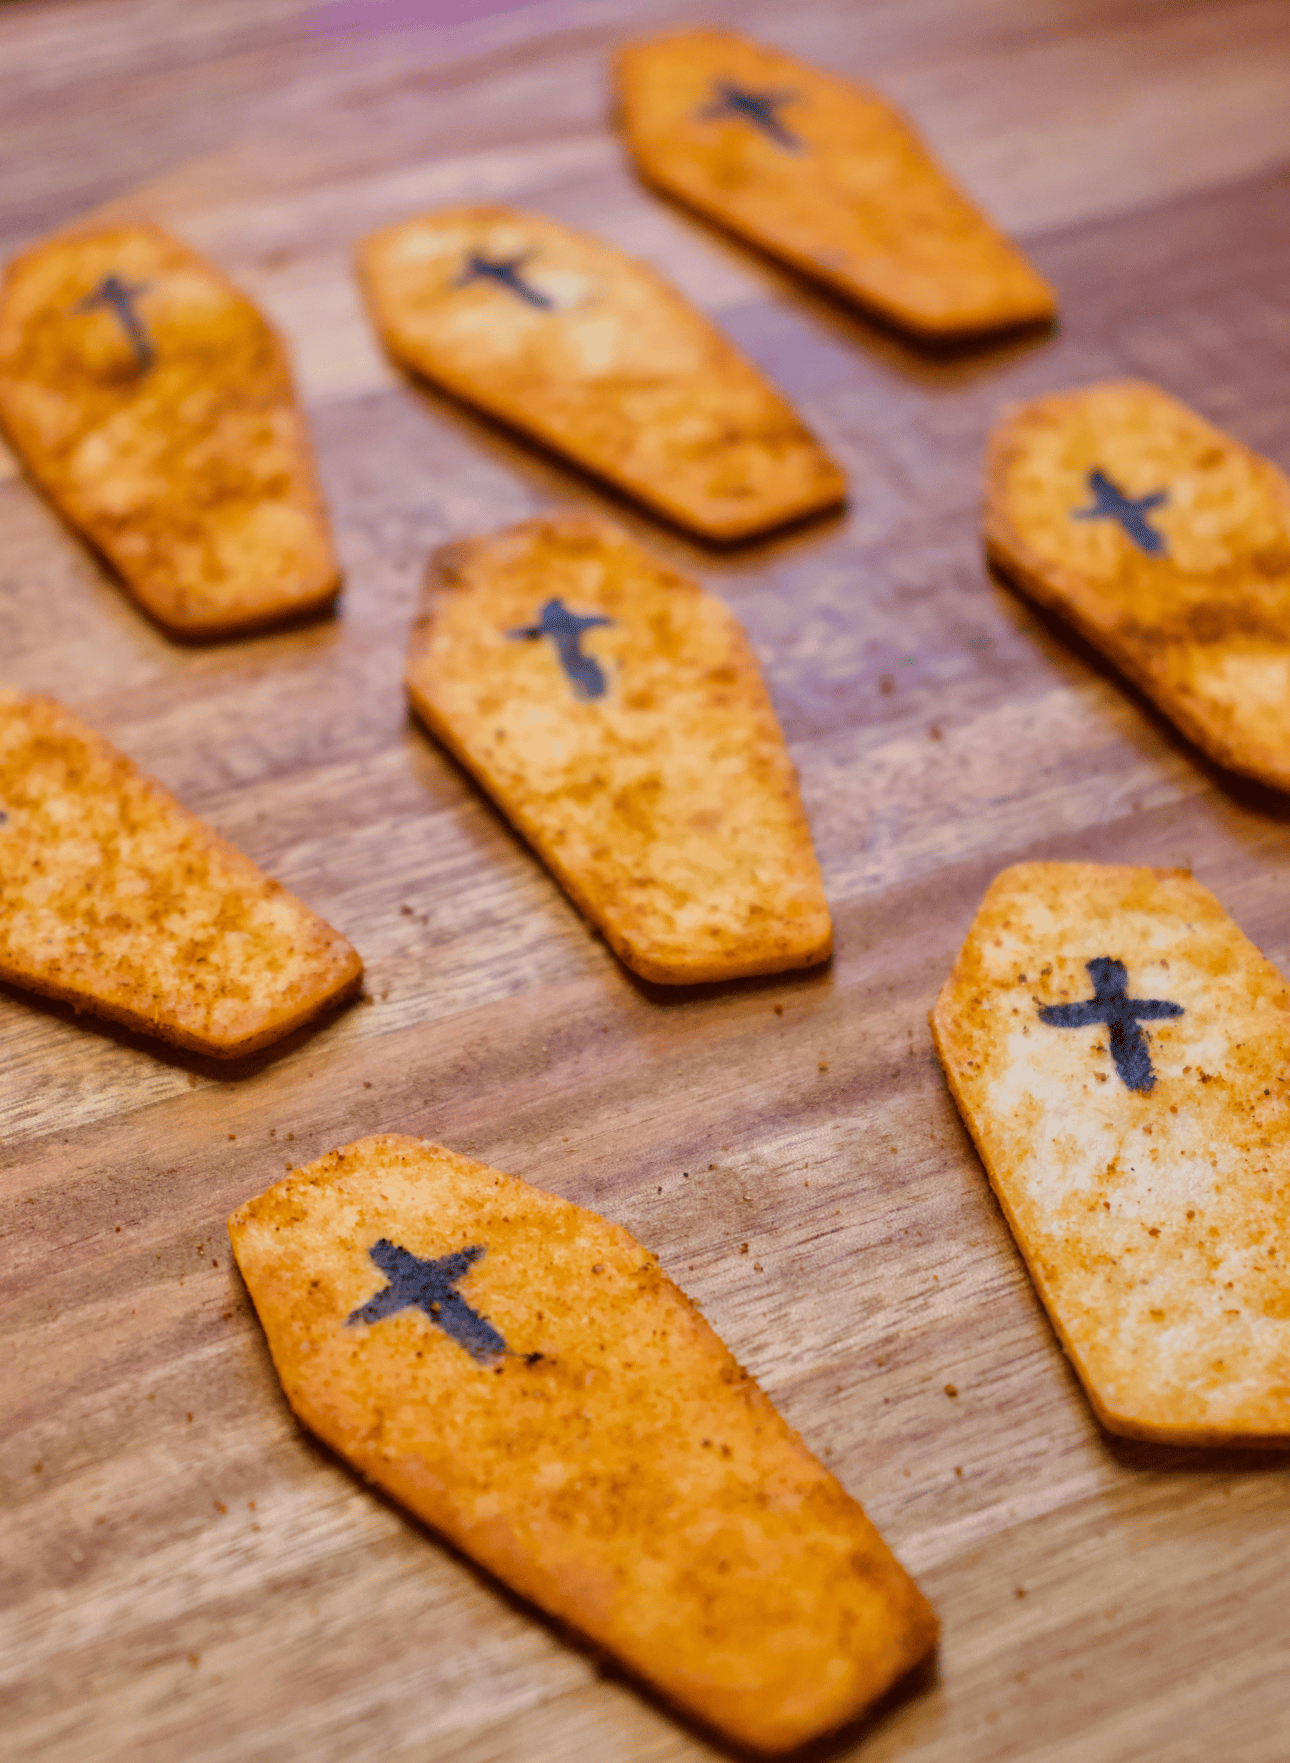
You can skip this step if you want to keep things extra simple.
Step 7. Serve with dips
Transfer the Halloween chips to a board or serving platter and add your favourite dips.
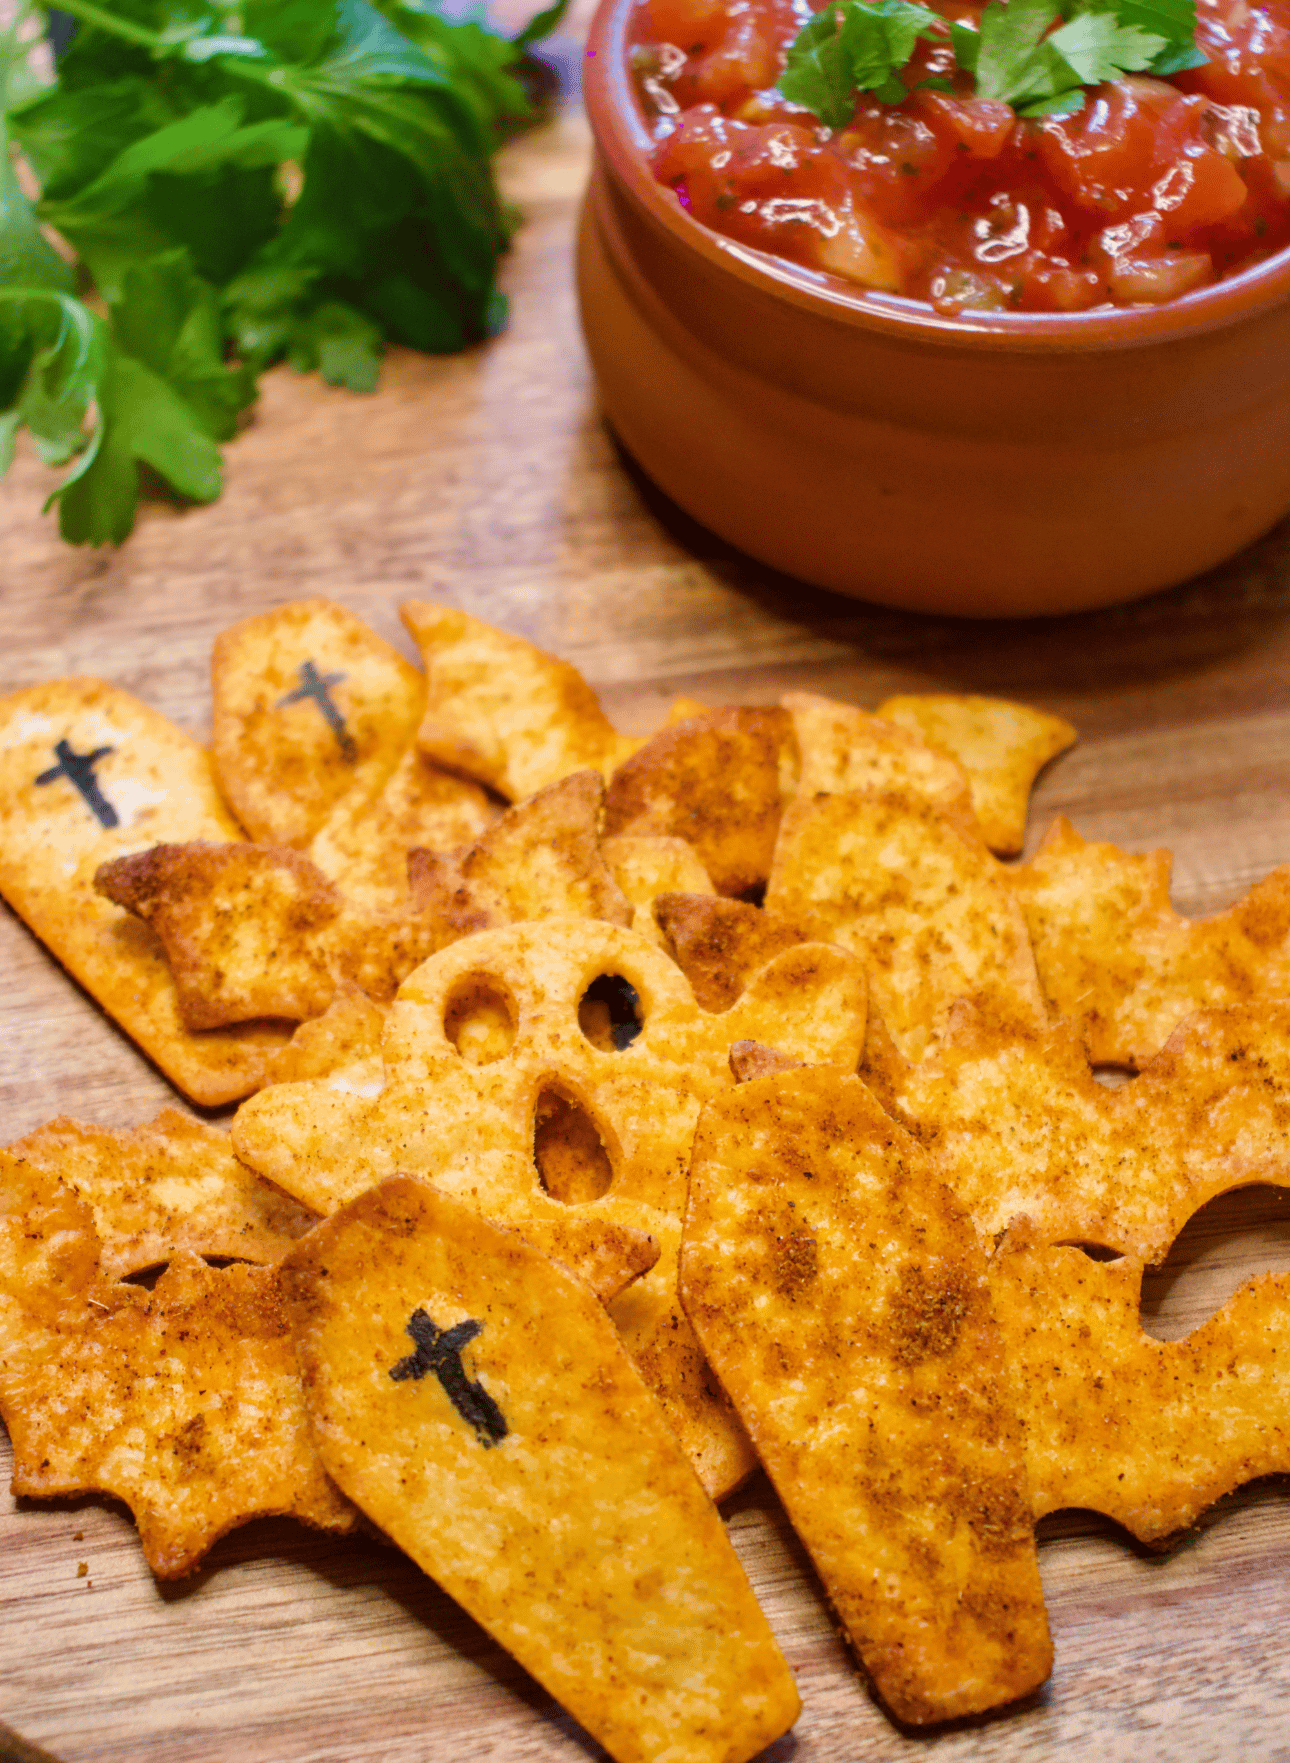
They look especially cute piled together as Halloween chips and salsa, with a bowl of chunky tomato salsa in the center. You could also serve Halloween chips and guac or pair them with sour cream, queso, black bean dip, or Halloween taco dip.
Why You’Il Love These Halloween Chips
Easy Halloween chips come together quickly and are cheap to make. All you need are tortillas, oil, seasoning, and some Halloween cookie cutters.
They are also ideal if you want Halloween appetizers that are easy enough to whip up last minute. There is no complicated decorating, no fiddly pastry work, and no terrifying “why did I sign up for this?” moments halfway through.
They are crunchy, smoky, golden, and just spooky enough without having to turn dinner into a full haunted affair.
Halloween Chips And Dip Ideas
These spooky chips are definitely meant for dipping. Enjoy them with:
- Tomato salsa
- Guacamole
- Halloween taco dip
- Sour cream and chive dip
- Queso
- Nacho cheese dip
- Black bean dip
- Spicy pumpkin hummus
- Garlic yoghurt dip
To make an easy Halloween chips and dip board, spoon two or three dips into small bowls. Scatter the baked tortilla chips around them on the board. Add a mix of bats, ghosts, coffins and tombstones for a cute board that kids and adults will love.
Tips For The Best Homemade Tortilla Chips
- Use large tortillas so you get more chips out of each wrap.
- Use cookie cutters with simple outlines. Really detailed shapes can be difficult to remove neatly from the tortilla wrap.
- Don’t use too much oil. Adding too much here can make the chips chewy instead of crisp.
- Spread the chips out in a single layer on the baking tray so they crisp up evenly.
- Allow the chips to cool before serving. Homemade tortilla chips crisp up more as they cool. If they don’t seem crispy straight from the oven, leave them for a few minutes and check again.
- Keep an eye on the tray towards the end of baking. These are thin homemade tortilla chips, so they can go from perfectly golden to burnt very quickly.
Can You Make Halloween Chips Ahead?
Yes! Bake the chips, allow to cool completely, then store in an air tight container at room temperature. They will keep for 1 to 2 days. Homemade tortilla chips can become soft if stored for too long.
To crisp them back up, pop them on a baking tray and warm in the oven for 2 to 3 minutes before serving.
How To Store Halloween Chips
Store Halloween chips in an airtight container at room temperature. Do not store homemade tortilla chips in the fridge, this will make them lose their crunch.
If they do soften, crispa them back up in the oven at 180°C / 350°F for a few minutes.
Final Thoughts
Homemade Halloween chips are such an easy way to make tortillas into Halloween party food. Crisp, savoury, easy to serve, and perfect for anyone looking for Halloween themed appetizers that don’t take all afternoon to make.
Serve with salsa, guacamole, Halloween taco dip or pile up a whole board of fall dips and appetizers. Before you know it, you have a spooky snack platter that looks adorable, with hardly any effort at all. Tiny bats, crunchy ghosts, little coffin chips… honestly, your snack table has never looked so haunted!
Easy Halloween Chips
These Halloween chips are such a simple way to turn tortillas into fun Halloween party food. They are crisp, savoury, easy to serve, and perfect for anyone looking for Halloween themed appetizers that do not take hours to make.
Ingredients
- 4 large tortilla wraps
- 1 ½ tablespoons olive oil
- 1 tablespoon smoked paprika
- ½ tablespoon garlic powder
- 1 tablespoon ground cumin
- 1 teaspoon chilli powder or cayenne pepper, optional
- ½ teaspoon salt
- Black edible food pen or black food colouring, optional
Instructions
- Preheat the oven to 180°C / 350°F and line a baking tray with baking paper.
- Lay the tortilla wraps flat and use Halloween cookie cutters to cut out spooky shapes.
- In a small bowl, mix the smoked paprika, garlic powder, cumin, chilli powder, and salt.
- Place the tortilla shapes in a mixing bowl.
- Drizzle with olive oil and sprinkle over the seasoning mix.
- Toss gently until the shapes are lightly coated.
- Arrange the chips on the baking tray in a single layer.
- Bake for 7 to 10 minutes, until crisp and lightly golden.
- Leave to cool for a few minutes.
- Add black crosses to the coffin chips with an edible food pen, if using.
- Serve with salsa, guacamole, taco dip, or your favourite Halloween chips and dip ideas.
Notes
The chips will crisp up more as they cool, so do not worry if they feel slightly soft straight from the oven.
For milder chips, leave out the chilli powder. For a smoky version, add chipotle powder. For a simple kids’ party version, stick with paprika, garlic powder, and salt.